

DIY Coffee Bar: 15 Affordable Ideas for Your Home
Make a functional home coffee station with 15 small-space ideas, layout tips, example budgets, storage suggestions, and a weekend setup plan.
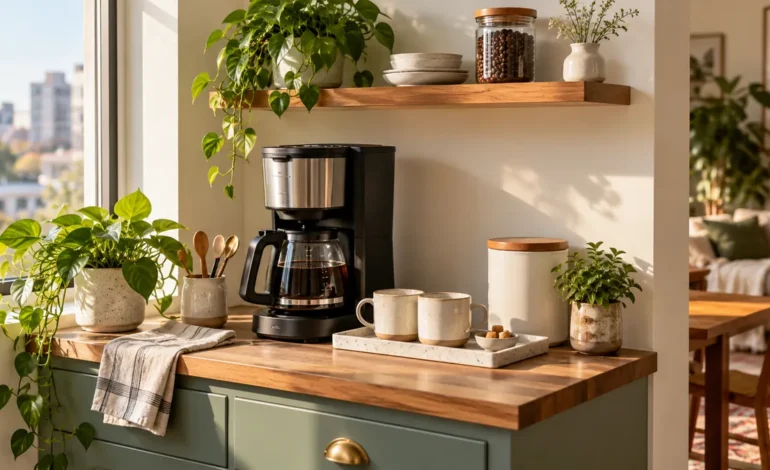

A beautiful coffee corner doesn’t require a renovated kitchen or a designer budget. These DIY coffee bar ideas show how to use a small counter, cart, shelf, or cabinet to create a station that feels organized and easy to use every morning.
Introduction
There is something satisfying about having everything for your first cup in one place. No searching through drawers for filters, no mugs scattered across three cabinets, and no coffee bags balanced beside the toaster. A dedicated station makes the routine calmer, even if the “bar” is really just a two-foot stretch of counter.
The trick is to design around the way you make coffee instead of copying a picture of someone else’s kitchen. A pour-over drinker may need a kettle, scale, filters, and a spot to set a mug. An espresso enthusiast needs more working clearance, accessories, and a place to empty and rinse equipment. The best coffee bar ideas for home begin with those practical questions.
Quick Answer: To build a DIY coffee bar, choose a convenient spot near an outlet, measure your machine and working space, group daily items on a washable tray, and add only the storage you need. A simple countertop station can start with supplies you already own. Carts, floating shelves, and cabinet conversions work when the space, power access, and cleanup routine are planned carefully.
ON THIS PAGE
Introduction • Measure Your Space Before You Buy Anything
Fifteen DIY Coffee Bar Ideas for Every Kind of Home • What a Budget-Friendly Coffee Station Could Cost
A Step-by-Step DIY Coffee Bar You Can Set Up This Weekend • Safety and Maintenance Rules for Any Home Coffee Bar
Coffee Bar Ideas for Home: Common Design Mistakes • Frequently Asked Questions
Conclusion • Sources and Further Reading
Measure Your Space Before You Buy Anything
Put your actual coffee maker on the proposed surface and pretend to make a complete drink. Can you fill the reservoir, open the lid, place a mug, reach the beans, and clean up without moving three other objects? If not, the station is too crowded no matter how attractive the photograph looks.
Measure width, usable depth, and overhead clearance. Leave enough space to open hinged lids, lift water tanks, and keep heat and steam away from vulnerable wall finishes or cabinets. Follow the appliance manufacturer’s stated clearances rather than relying on a generic measurement from an inspiration post.
A useful zone layout has three parts: preparation (beans, filters, spoons), brewing (machine or kettle), and finish (mugs, sugar, napkins). Put the most-used items in the easiest reach. Display shelves are for the lighter, less frequently used items; daily equipment belongs on sturdy, level surfaces.
| Setup | Best for | Practical planning note |
|---|---|---|
| Countertop tray | Apartments and small kitchens | Keep space for lids and water filling |
| Rolling cart | Flexible layouts | Check wheel locks and outlet access |
| Repurposed sideboard | Dining rooms | Verify weight and heat resistance |
| Cabinet nook | Hidden storage | Ensure ventilation and comfortable access |
| Wall shelves + base | Small footprints | Anchor shelves correctly; keep hot appliances below |
Fifteen DIY Coffee Bar Ideas for Every Kind of Home
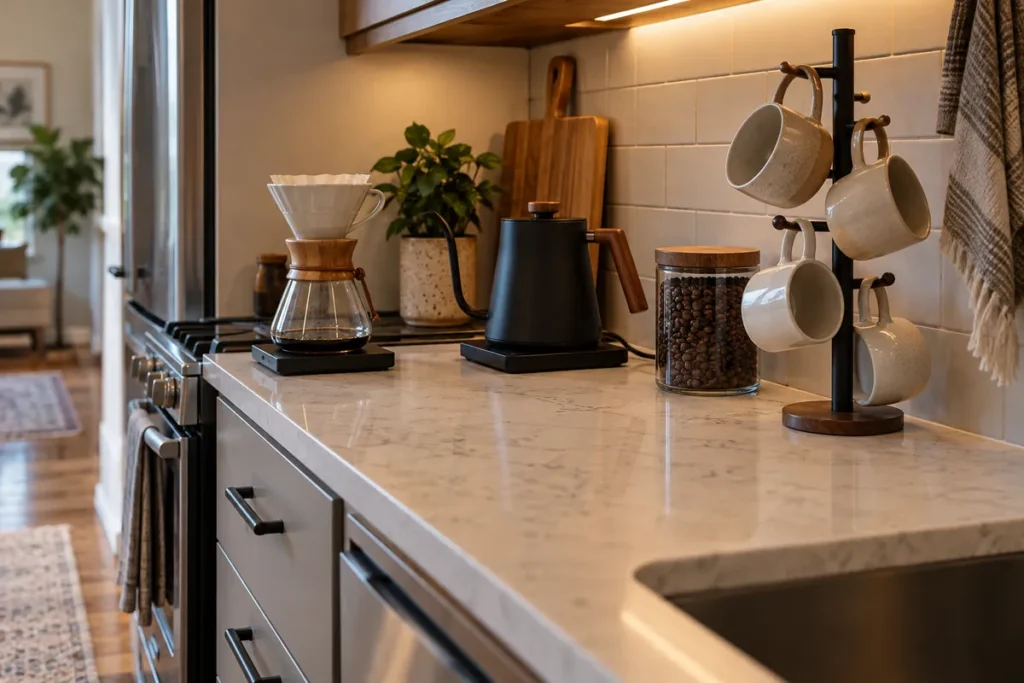
Small-space coffee stations
1. The countertop tray. Choose one washable tray wide enough for the essentials and use it as your station boundary. Set the machine beside it if necessary; coffee equipment should sit on a stable, heat-tolerant surface rather than a decorative tray that is too small.
2. The corner coffee nook. A corner can hold a machine, a canister, and a vertical mug rack without claiming an entire counter. Keep the part closest to the sink clear for spills and cleaning.
3. The slim rolling cart. A narrow cart works well for beans, filters, and cups, while the brewer may remain on the counter near a reliable outlet. If using an appliance on the cart, confirm the cart’s load rating, stability, and access to a safely placed receptacle before committing.
4. The breakfast-shelf station. Use a low shelf in an existing cabinet for coffee supplies and prepare drinks on the counter below. This preserves floor space and keeps visual clutter down.
5. The rental-friendly wall rail. A removable-looking rail or pegboard can organize lightweight mugs and tools, but check the mounting system and your lease before drilling. Never suspend hot appliances or heavy storage jars from unsuitable hooks.
Coffee bars built from existing furniture
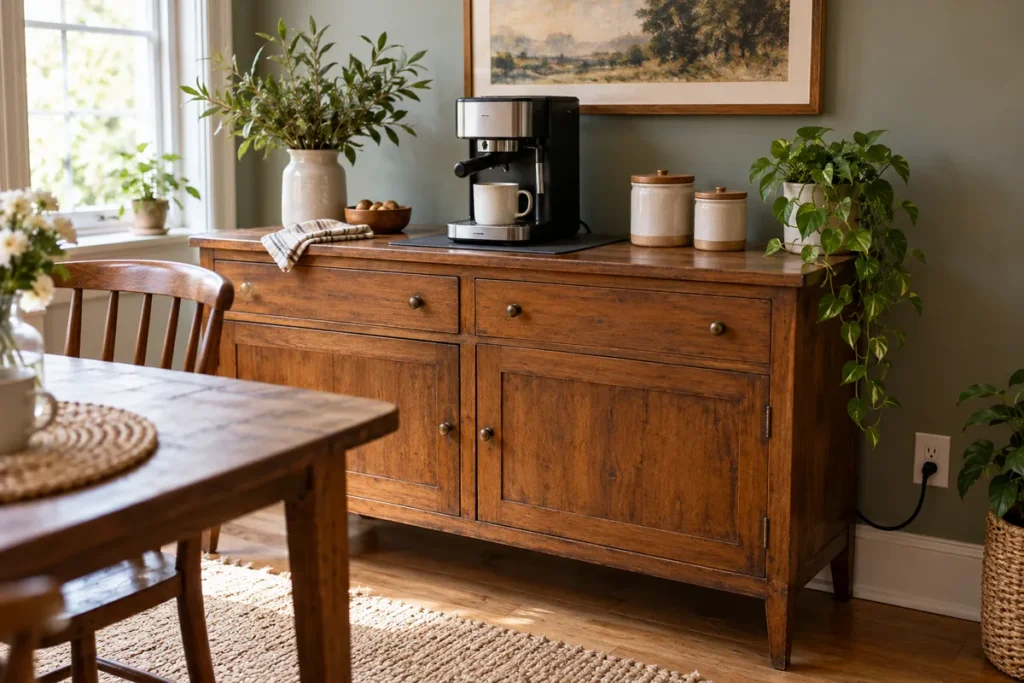
6. The thrifted sideboard. An older cabinet can become a coffee station with a washable top, lined drawers, and a small container for used pods. Inspect the surface for water damage and make sure it can safely carry the equipment.
7. The bookshelf conversion. Dedicate one solid, reachable shelf to brewing supplies while using upper shelves for mugs or recipe books. A tall bookcase should be properly anchored; avoid placing a steaming machine inside an enclosed cubby.
8. The dining-room buffet bar. If your kitchen is crowded, a buffet near the dining area can house cups, napkins, syrups, and a grinder. Make sure hot-water access and carrying drinks across the room feel convenient.
9. The cabinet-door surprise. Transform an unused cabinet into supply storage: labeled bins for beans, filters, tea, and reusable accessories. Brew on the counter outside the cabinet to allow safe ventilation.
10. The weekend furniture refresh. Instead of buying a new unit, repaint an existing cabinet, update its knobs, and add a wipe-clean mat. The transformation can be visual rather than structural.
Style-forward stations that still work
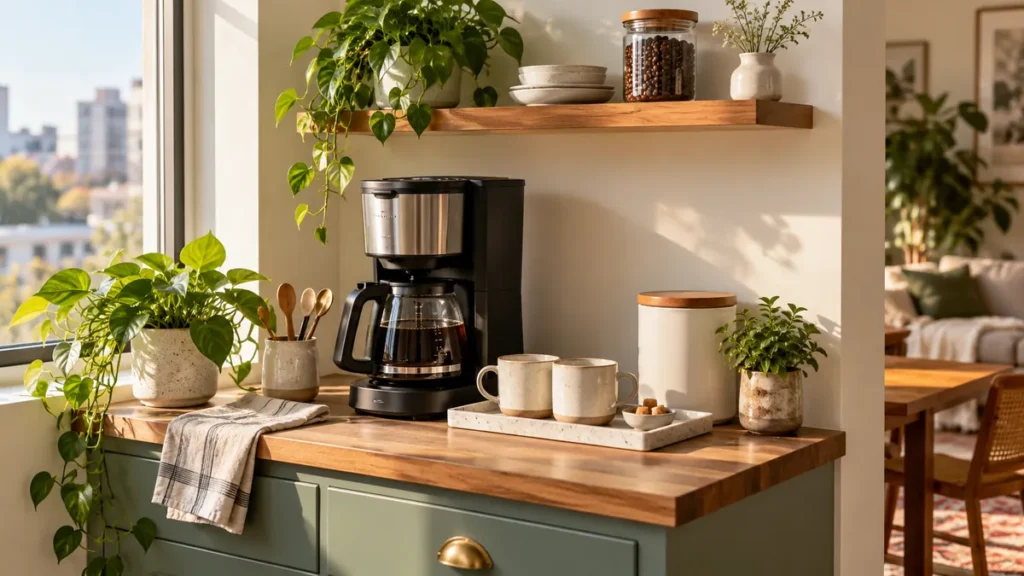
11. The minimalist monochrome station. Keep colors consistent and hide spare supplies in drawers. A neutral tray, one canister, and two favorite mugs can make a compact setup look intentional.
12. The warm wood-and-ceramic corner. Pair a wood-toned shelf with ceramic mugs and a lidded container for beans. Use washable protection under the machine so water and coffee grounds do not mark unfinished surfaces.
13. The labeled pantry-bar station. Clear labeled containers keep tea, coffee, sugar, and stirrers understandable to guests. Keep product labels or date notes available where freshness or preparation instructions matter.
14. The weekend-guest coffee bar. Offer a clear choice of coffee, decaf, and tea, plus clean mugs and a place for teaspoons. A small printed instruction card helps visitors use unfamiliar equipment without guessing.
15. The dual coffee-and-tea corner. Give tea its own section with infusers and a safe place to set hot items. Do not clutter the brewing surface with decorative items that could be knocked into a kettle or machine.
What a Budget-Friendly Coffee Station Could Cost
Prices change by retailer and location, so use the following as illustrative planning allowances, not verified market quotes. The aim is to show what can be reused and where spending tends to grow. The brewer itself is excluded unless stated.
| Approach | Illustrative extra spend | Where the money usually goes |
|---|---|---|
| Use what you own | $0–$25 | Repurposed tray, jars, labels |
| Countertop refresh | $25–$75 | Organizer, washable mat, canister |
| Small cart setup | $60–$180 | Cart, bins, mug storage |
| Repurposed furniture | $40–$200 | Secondhand unit, hardware, finish |
| Shelving and cabinet upgrades | Variable | Suitable brackets, tools, safe installation |
Before shopping, make a “daily / weekly / decorative” list. Daily items get prime access. Weekly items belong in the nearest drawer. Decorative objects only earn space after the essentials fit. This simple order can prevent an attractive coffee bar from becoming another cluttered counter.
A Step-by-Step DIY Coffee Bar You Can Set Up This Weekend
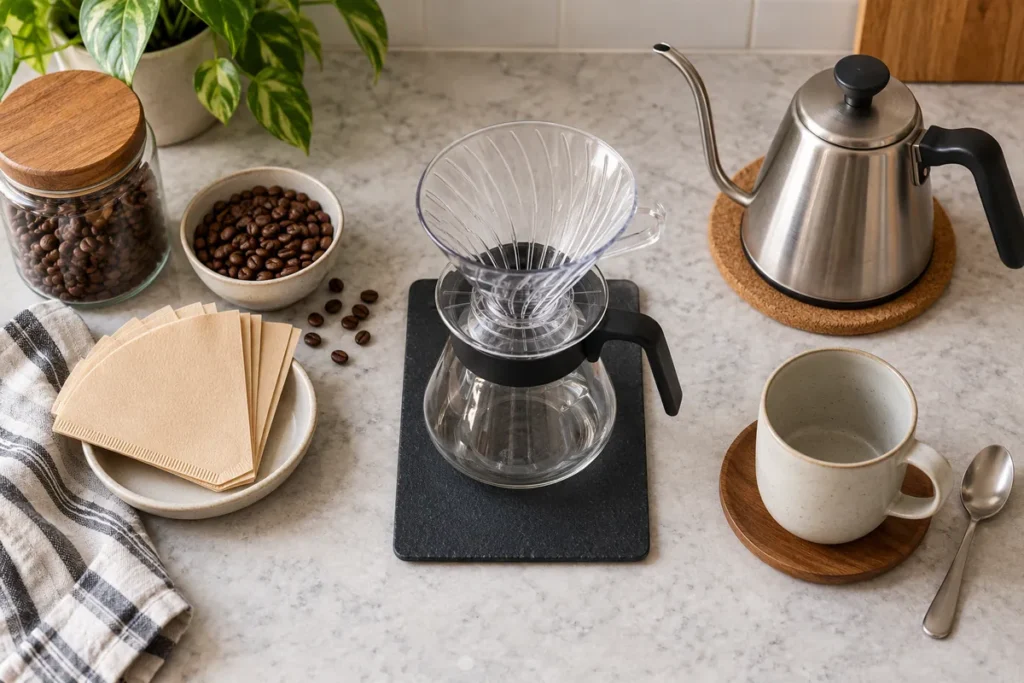
Step 1: Empty and clean the area. Remove appliances that do not belong in the new station, then wipe the surface and inspect it for moisture damage.
Step 2: Measure every object. Record the machine’s real footprint, how its lid or reservoir opens, and the height you need above it. Test the motion before adding shelves.
Step 3: Put brewing equipment in place. The machine or kettle goes on a stable, suitable surface with convenient power access. Follow the manufacturer for required ventilation, surface protection, and clearances.
Step 4: Group supplies by sequence. Set cups near the finish area, grounds near the brewing equipment, and cleaning supplies where you can reach them afterward. A small catch tray can help contain minor drips.
Step 5: Add storage only where needed. One mug hook, drawer divider, or labeled bin may solve the problem. Resist buying a complete organizer set until you see what is missing in daily use.
Step 6: Make three test drinks. Prepare your usual drink, a guest drink, and one that requires the most equipment. Notice any awkward reaches or spills and rearrange accordingly.
Step 7: Finish with restrained decor. Once the station works, add a framed print, plant, or matching canister away from hot surfaces. Function should stay visible beneath the styling.
Safety and Maintenance Rules for Any Home Coffee Bar
Coffee makers and kettles produce heat, steam, and water, which makes electrical safety more important than the design theme. The U.S. Fire Administration advises against overloading outlets, says major appliances should plug directly into wall outlets, and warns against extension cords for major appliances. For your coffee equipment, follow its manual, keep cords away from water, inspect them for damage, and use a suitable outlet.
If you’re mounting shelves, use fixings appropriate to your wall and the load. If you rent, get any required permission. Avoid hiding plugs behind heavy cabinets or positioning a machine where steam strikes a shelf or delicate paint every morning. Make sure you can access the outlet and move the machine for cleaning.
A daily 60-second reset helps: wipe the mat, empty used grounds or pods, wash tools according to their instructions, and return supplies to their places. Deep-clean the brewer and descale it on the manufacturer’s schedule. A beautiful station stays beautiful when maintenance feels effortless.
Coffee Bar Ideas for Home: Common Design Mistakes
The most common error is building a photo set instead of a work area. A machine under a low shelf may look cozy but be difficult to refill. Open mugs directly beside a grinder collect dust. Too many syrup bottles can overwhelm a tiny corner. And a cart without stable wheels may feel precarious once loaded.
Solve those problems early. Use a removable tray for frequent cleaning, keep heavier objects low, reserve vertical displays for lightweight items, and leave at least one clear space to set down a hot mug. An uncomplicated layout generally looks more polished after a month of real use than a heavily accessorized one.
Frequently Asked Questions
Can I make a DIY coffee bar in a small apartment?
Yes. A compact countertop tray or shallow cabinet shelf is often enough. Prioritize clearance around your actual brewer and avoid purchasing furniture before testing the available space.
Do I need floating shelves for a home coffee bar?
No. Drawers, trays, a small cart, or an existing cabinet may work better. Shelves are useful only when properly secured and positioned away from appliance heat and steam.
What should every coffee station include?
A reliable brewing surface, clean mugs, coffee or tea supplies, accessible water, and a simple cleanup method. Everything else depends on the drinks you make.
How can I make a coffee bar look expensive on a budget?
Use fewer visible objects, repeat two or three colors, hide backup supplies, and choose one functional organizing piece. Clean surfaces and consistent storage usually matter more than elaborate decor.
Conclusion
The best DIY coffee bar is one you enjoy using on an ordinary workday, not just admiring in a photograph. Begin with the brewer and the space it needs. Add storage that removes friction, keep the electrical setup safe, and decorate only after the workflow makes sense. Even the smallest corner can become a thoughtful daily ritual.